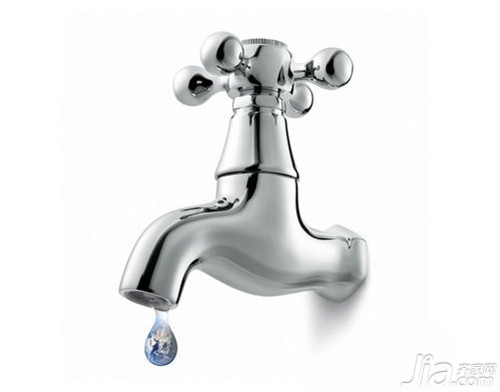
Faucet dripping is more common in life. Many people don't know how to do the faucet dripping. There are many reasons for faucet dripping, but we don't know much about it. Therefore, the faucet appears dripping phenomenon is the most important thing is to find the cause of faucets dripping to find a solution, the following Xiaobian to share with you how to do the faucet dripping , take a look at it.
How to do a dripping tap
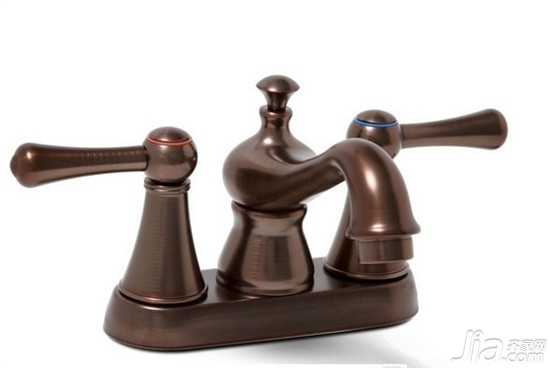
No matter what appearance the push-type faucet has, whether it has two handles for hot and cold water, or only one handle for controlling hot and cold water at the same time, it works according to some basic principles. The following is a description of how to open a press faucet and repair dripping:
Required tools: Use these tools to deal with push-type taps - screwdrivers, penetrating oils, slip joints or adjustable wrenches, and pads to be replaced.
Step 1: Turn off the water supply and remove the small screw on or behind the faucet handle to remove the handle that is attached to the faucet body. Some screws are hidden under metal buttons, plastic buttons, or plastic tabs that snap into or screw into the handles. Just open the button and you will see the handle screw on the top. If necessary, use a penetrating oil such as WD-40 to loosen the screws.
Step 2: Remove the handle and check the parts of the faucet. Remove the packing nut using a large-scale pliers or adjustable wrench, taking care not to leave scratches on the metal. Rotate the spool or shaft in the same direction that you turned it when you turned on the tap to unscrew them.
Step 3: Remove the screws securing the washers. If necessary, use penetrating oil to loosen the screws. Check the screws and valve plugs and replace them if damaged.
Step 4: Replace the old gasket with a completely new one. New washers that almost perfectly match the old ones will generally make the tap no longer dripping. You also notice whether the old washer is beveled or flat and replaced with the same new washer. Gaskets designed for cold water only expand rapidly when there is hot water passing through it, blocking the outlet and slowing the flow of hot water. Some washers work in both hot and cold water, but you have to make sure that the gasket you bought for replacement is exactly the same as the original one.
Step 5: Secure the new gasket to the valve plug and reinstall the components in the faucet. Rotate the valve clockwise. After the valve plug is in place, reinstall the packing nut. Be careful not to let the wrench scratch the metal.
Step 6: Reinstall the handle and put the button or disc back. Re-open the water supply and check for leaks.
How to do dripping faucet two, tap valve seat
If you change the washer and the faucet still drips, there may be a problem with the faucet seat. A damaged gasket may cause the faucet seat to become worn out by the metal plug, or the deposition of chemical in the water may form a residue that will not allow the gasket to fully compress with the seat.
How to repair a broken faucet seat? Of course, you can replace the entire faucet. Another option is to simply replace the faucet seat. If you have the right tool, known as a seated spanner, it is a simple matter to remove the old seat. Insert the valve seat spanner into the seat, and then pull it counterclockwise. Once you have removed the old valve seat, make sure that the new valve seat you bought is exactly the same as the original one. If the seat cannot be removed, insert a seat cover that slides into place on the old seat and provides a seal. Two types of seat roller or sanders that can flatten worn seats.
Another option is to use a seat roller or sander, an inexpensive tool that flattens worn seats. When using this tool, be careful not to use too much time or use too much force because the valve seat is made of soft metal and you can easily wear it off too much.
When using a sander, first remove the faucet valve and insert the seat roller down into the seat in the faucet body. Rotate the tool clockwise several times with moderate force. Then use a cloth to wipe off the metal chips that have fallen off the valve seat.
How to do dripping taps
Drips occur when the faucet is closed; leaks occur when water flows through the faucet. If you see water pouring out of the handle, your faucet is leaking; the first thing to do is to make sure the packing nut on the faucet is tight, but be careful not to scratch the nut with a pliers or wrench.
Tools required: adjustable wrench, replacement faucet seal, vaseline.
If you find that the cause of the leak is not a loose nut, you must replace the seal. The sealing ring of the faucet may be a tight seal consisting of one or more O-shaped rubber rings, or something like a string or a soft wire wrapped around the valve core under a packing nut.
When replacing the tap seal, follow these steps:
Step 1: Turn off the water supply and remove the faucet handle.
Step 2: Unscrew the packing nut and remove the nut and the old seal from the valve plug.
Step 3: Install a new seal. If you are using a linear seal material, wrap it around the spool. If it is a sealing material such as a soft wire, it will only wrap around the valve core.
Before you reassemble the faucet, apply a thin layer of vaseline oil on the threads of the valve plug and the threads of the packing nut.
What to do with a tap dripping?
The kitchen faucet has one or more O-rings to prevent water from escaping around the outlet. If the O-ring is worn, you will see water flow out at the bottom of the outlet each time you turn on the tap.
Required tools: Adjustable wrench, pipe joint tape, replacement O-shape.
Replace the O-ring:
Step 1: Turn off the water supply, turn it counterclockwise and remove the threaded coupling nut that secures the outlet. Be sure to wrap the nut with tape to prevent it from being scratched by a pliers or wrench.
Step 2: After removing the coupling nut, lift the water outlet up and out of the outlet seat. You can see these rings inside the outlet seat.
Step 3: Replace the problematic ring with a new, identically-sized ring. Reassemble the faucet again.
The above is a small series of taps how to do the relevant knowledge, I hope to help you. For more information, please visit this website. Stay tuned.
Faucet
High Gloss Laminate Flooring is an excellent choice if you're looking to add a bit of class to a room. Our high gloss floors look incredible and add character, all while keeping the benefits of a regular Laminate Floor. Thanks to the click systems used on each range, high gloss laminates are easy-to-install and offer long lifespans.

High Gloss Laminate Flooring
High Gloss Laminate Flooring White,High Gloss Laminate Flooring Lowes,High Gloss Laminate Flooring Sale,High Gloss Laminate Flooring Cleaning
Shenyang Rongdida Wood Industry Co., Ltd. , https://www.rddfloor.com